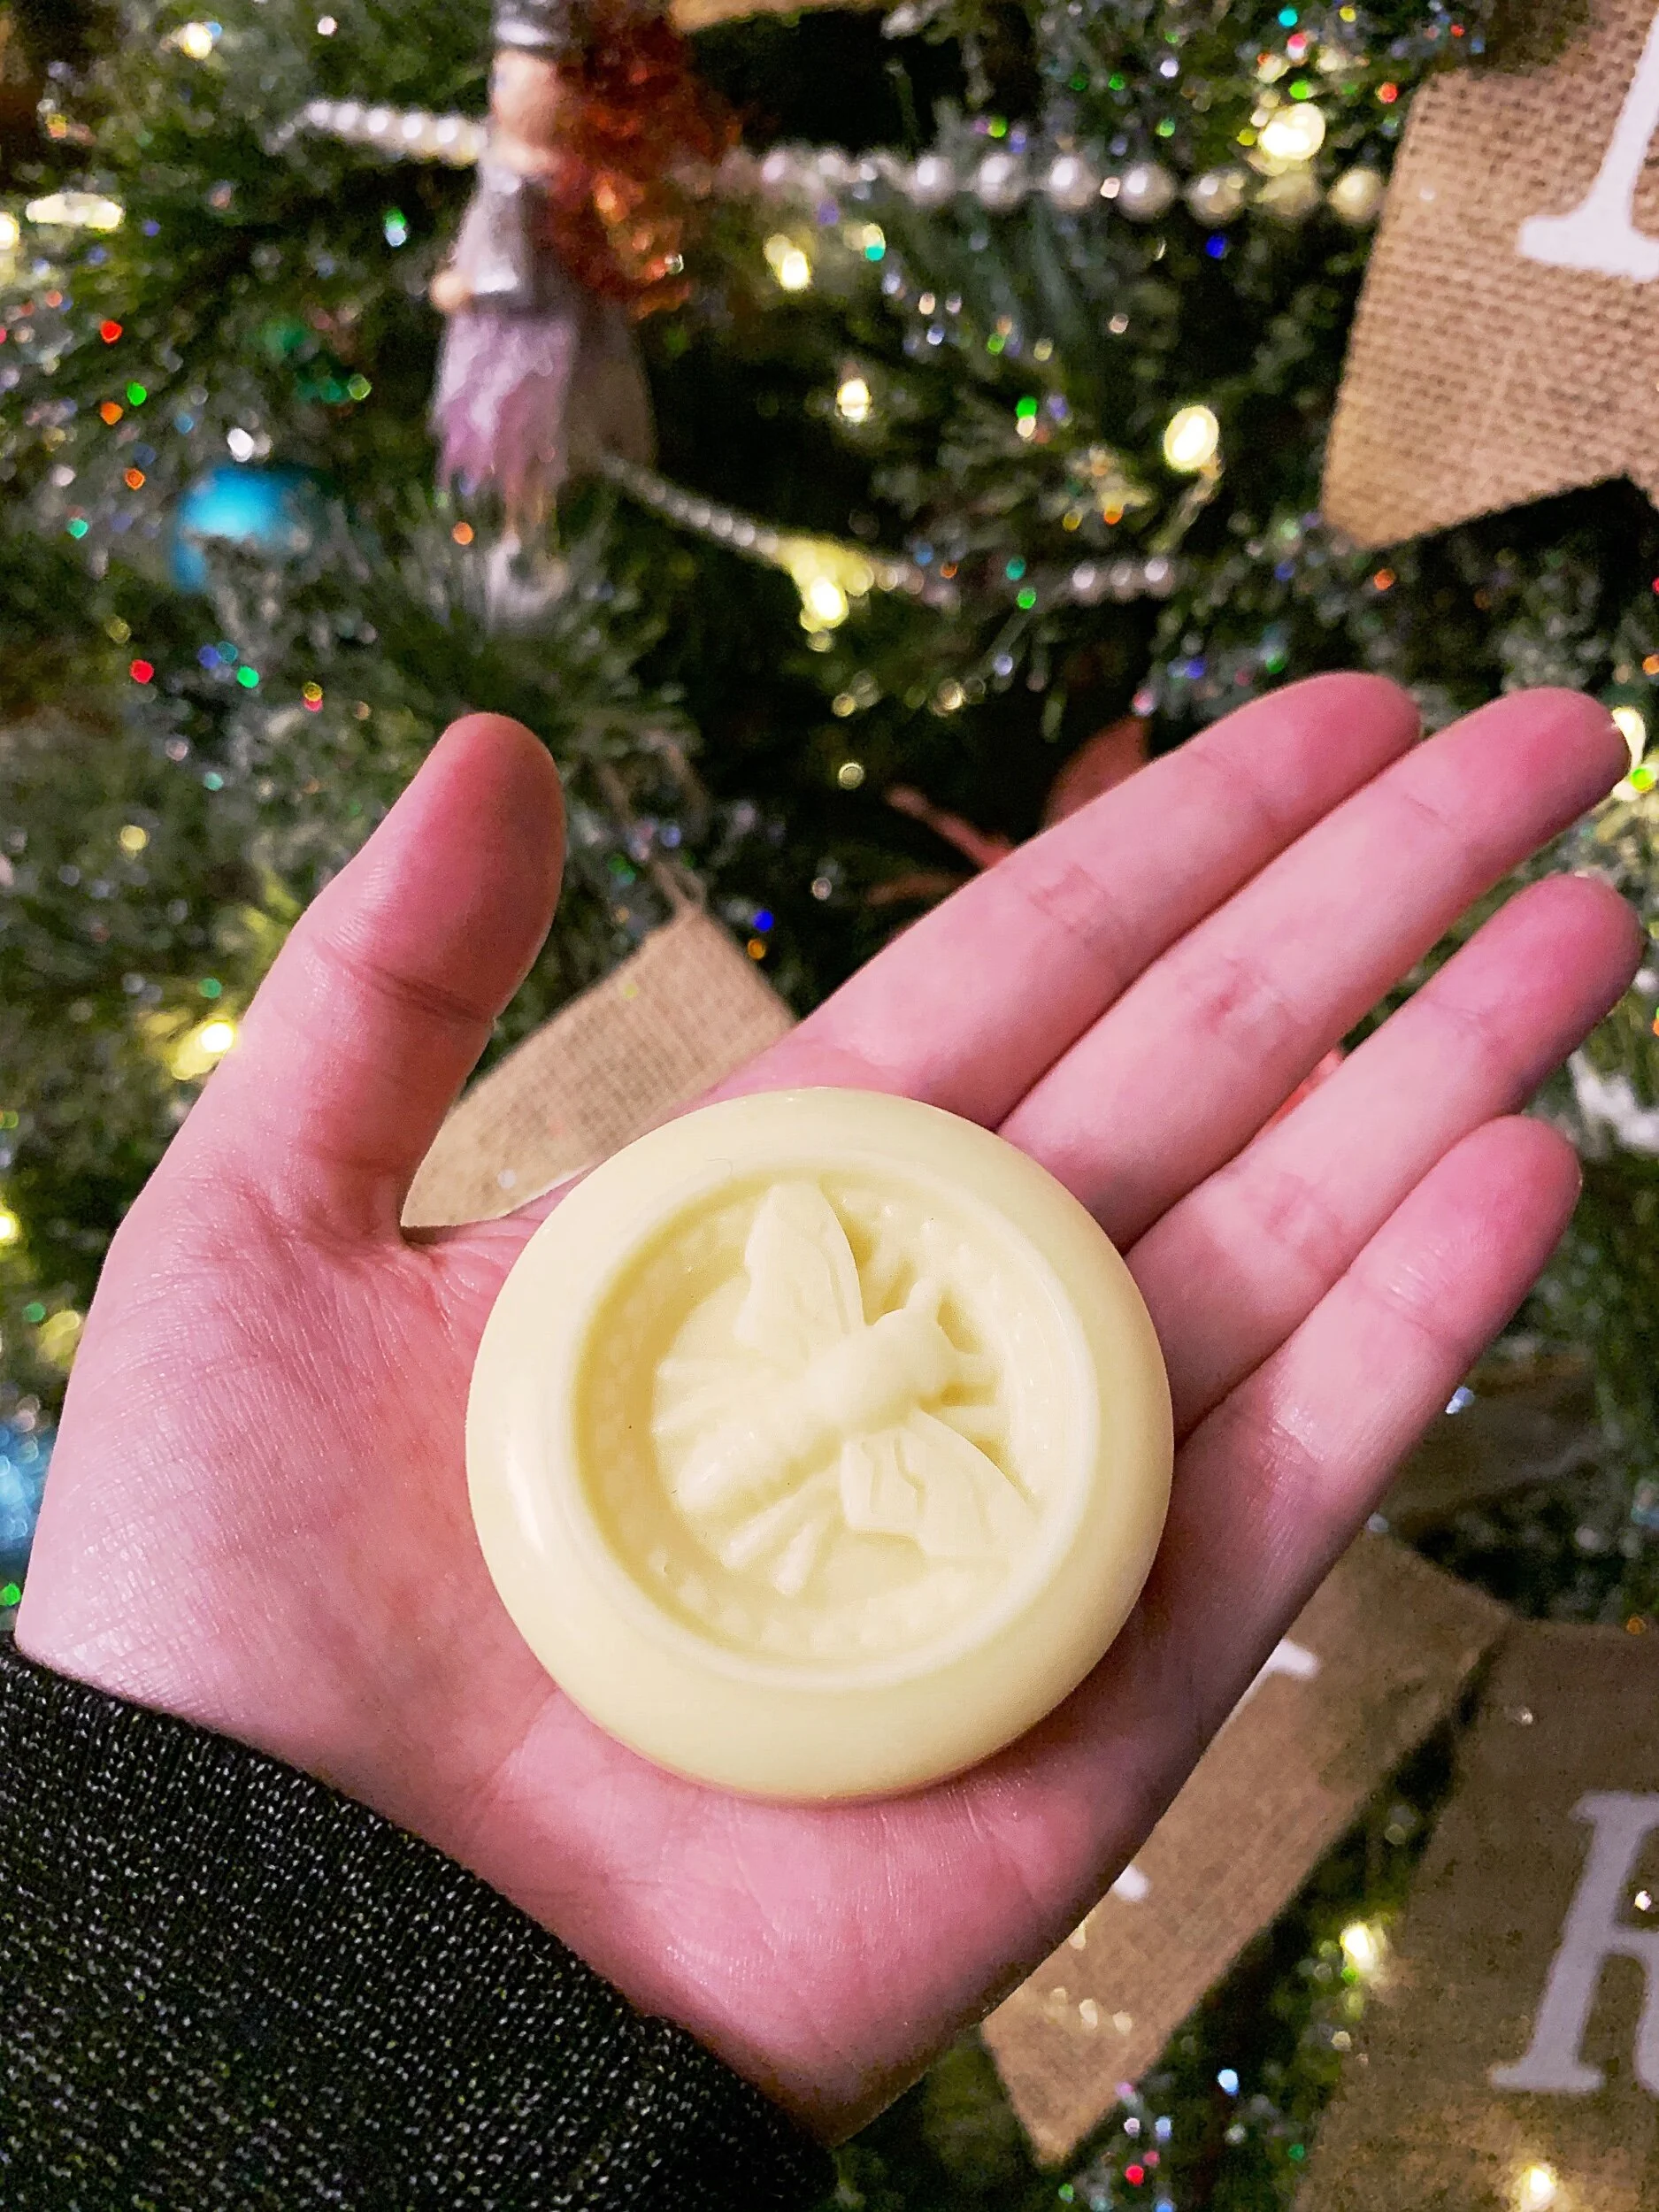
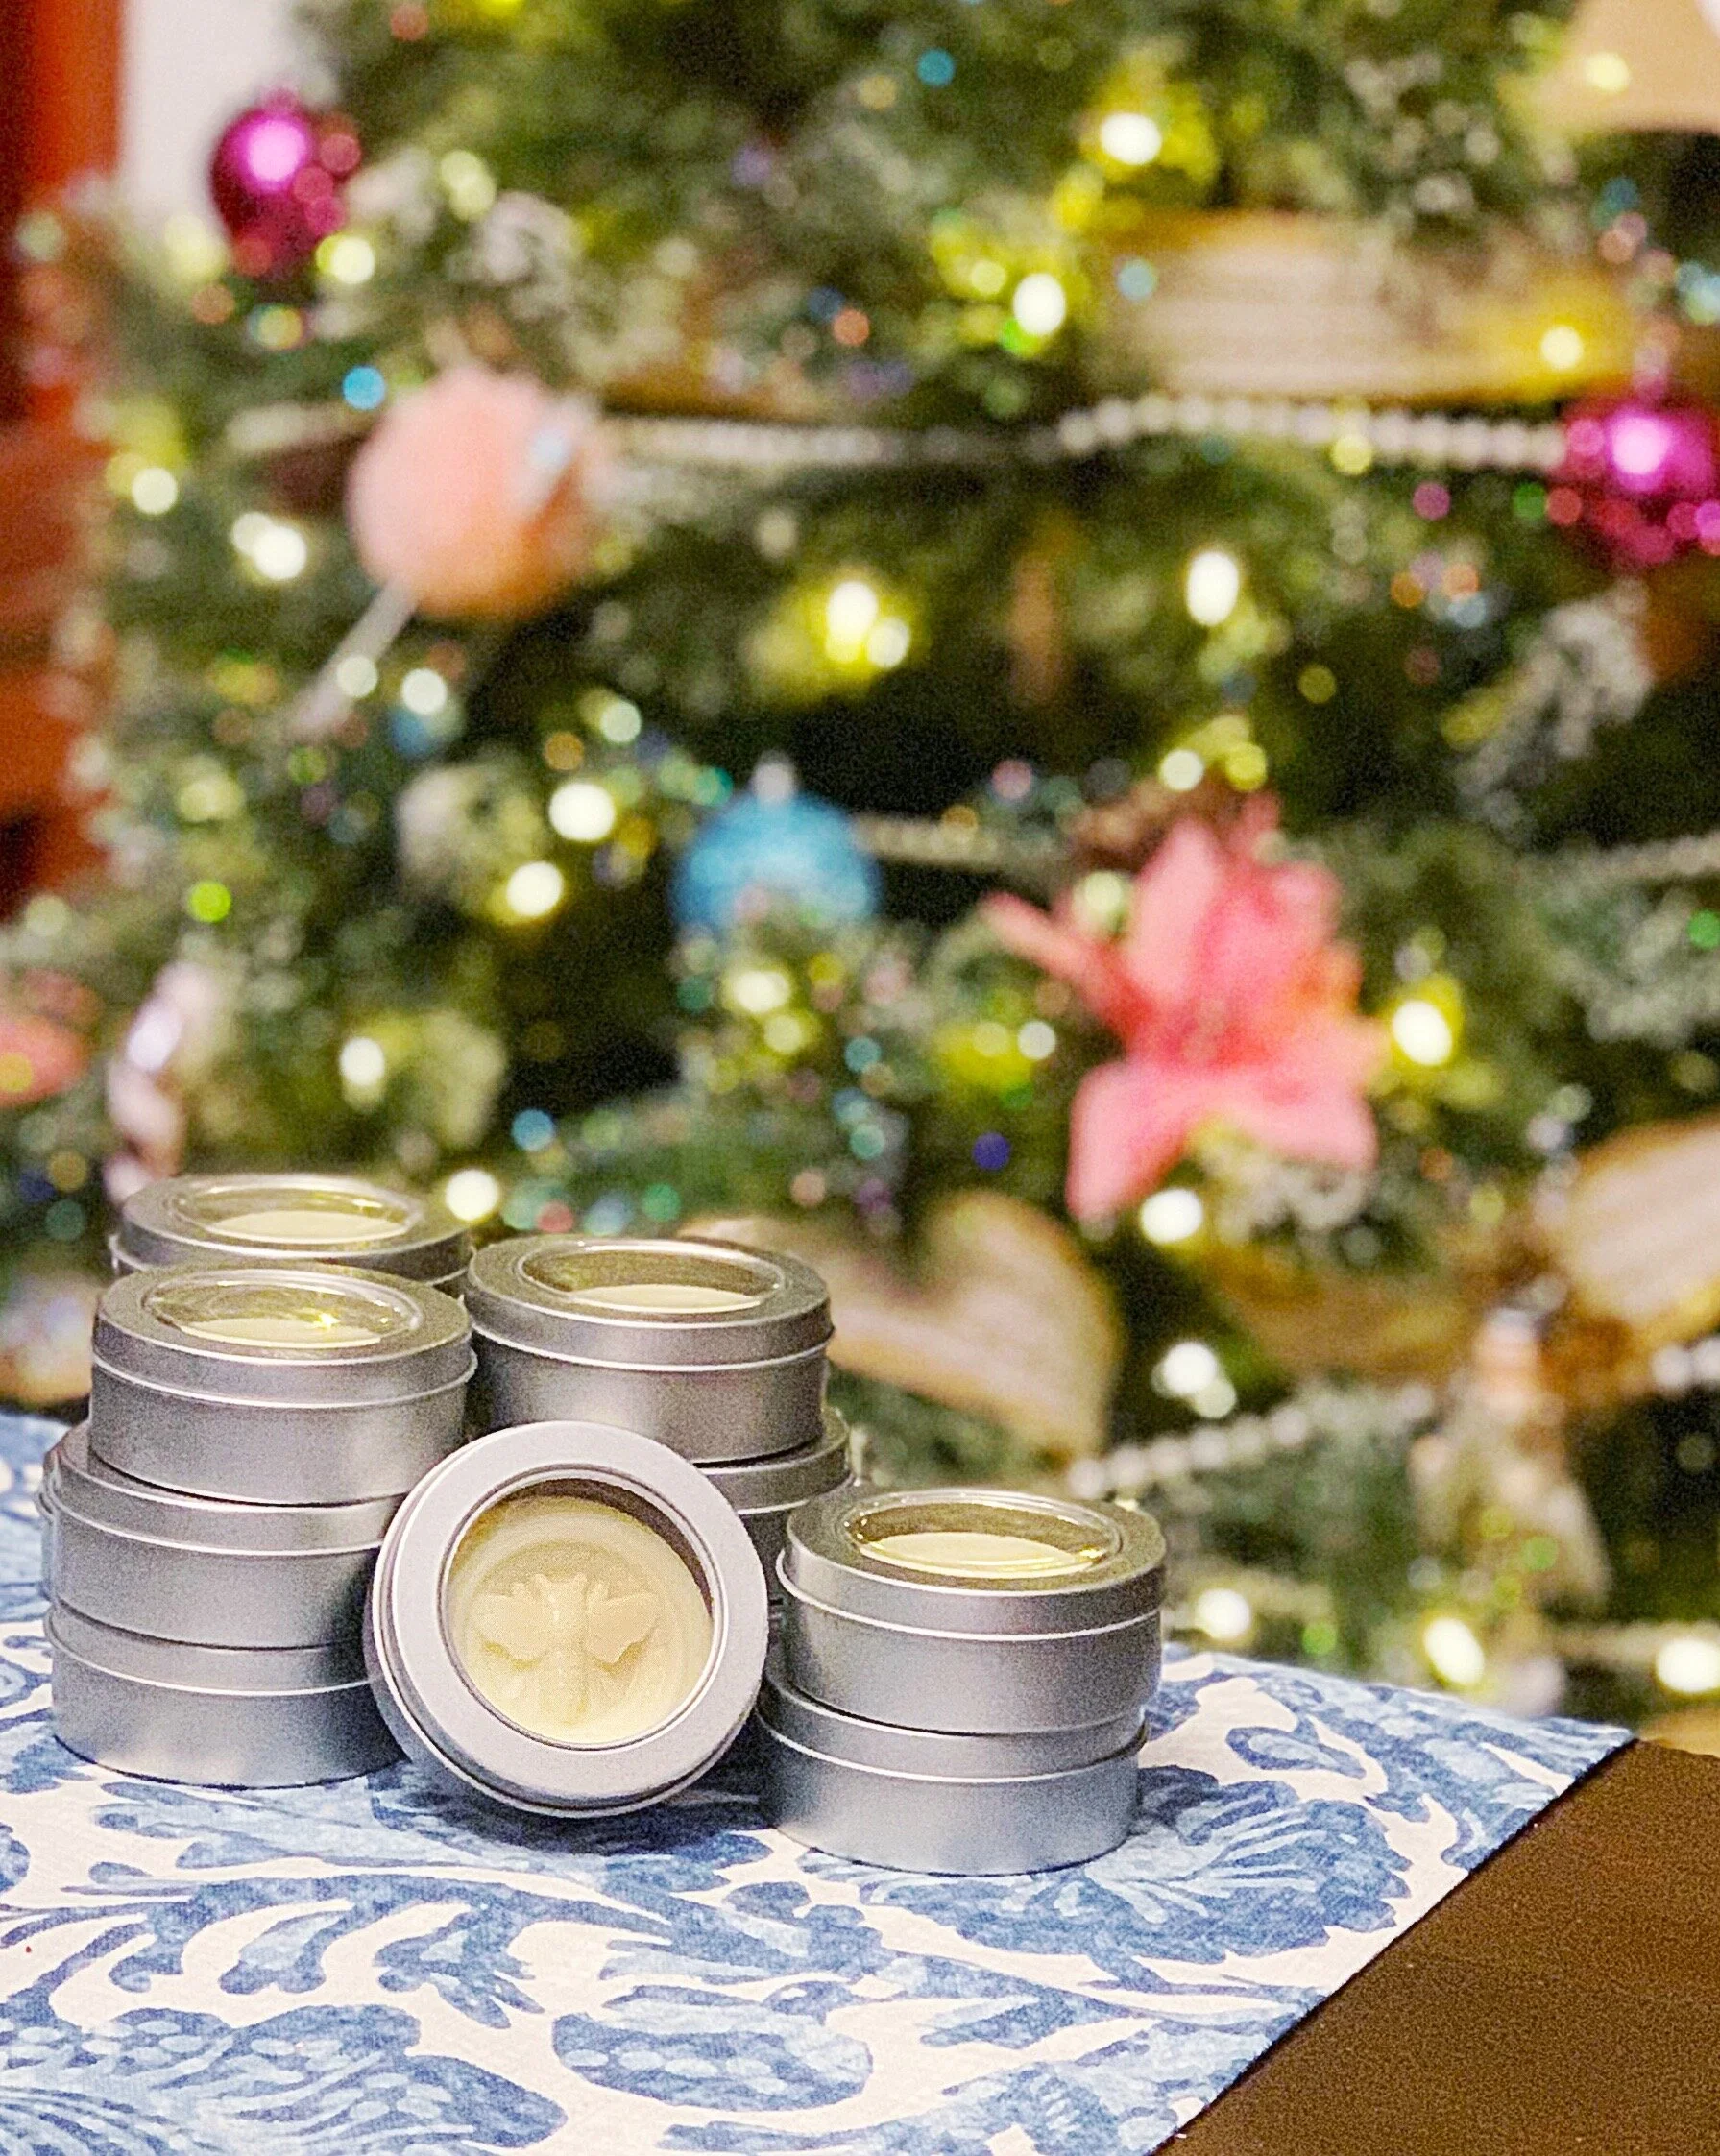
And now, for something completely different, I bring you: handmade lotion bars.
It’s no secret that Pinterest will be my undoing, and yet I continue to browse, torturing myself with ideas that’ll never see the light of day. My yarn stash will long outlast my life expectancy and my cross stitch collection is headed in that direction, as well. My only hope is that someone else can do something with it once Scott dumps me in front of Shady Pines in 30 years.
That’s how I stumbled on a recipe for three-ingredient lotion bars and had the novel idea of making them for Christmas gifts that I can give to our families and my girlfriends. The recipe seemed simple enough and, once distributed across multiple bars for multiple people, a cost-effective way to show someone I care without getting voluntold to knit something.
As usual, I was right. The easy-to-find ingredients are equal parts beeswax, shea butter, and coconut oil (for 12 bars in the molds I used, I needed one cup each).
The recipe (see the “3 Ingredient Lotion Bar” here) recommended putting the filled molds in the fridge if you want them to harden quickly, but I didn’t really care, so I initially ignored this step. While that’s not the worst thing you can do, I don’t recommend skipping this step, and not because it makes the bars cool quickly. I found that, in general, they hardened more evenly and were easier to pop out of the molds than letting them dry all day outside the fridge. I also feel like there’s a less oily feel and they’re more waxy. They’re shinier, too, and overall look more professional if you put them in the fridge to cool.
Adding to the professional look are inexpensive tins I ordered to house them. I knew I needed decent packaging so people could carry them around in their bags, and tissue paper wouldn’t suffice because the oil would definitely leak through, so finding the right container was important. These containers were an obvious solution and I found them in the perfect size for my molds (in retrospect, I should have worked backwards instead of lucking out, but I’m a Gemini, so you get what you get).
Supplies I Used:
Disclaimer: Yeah, these are referral links from Amazon, so I’ll get a kickback if you actually buy something from them. Can’t blame a girl for trying.
Beesworks Beeswax Pellets, Yellow, 1lb-Cosmetic Grade-Triple Filtered Beeswax
NOW Solutions, Shea Butter, Skin Emollient, Seals in Moisture for Dry Rough Skin, 16-Ounce
Coco Road Organic & Fair Trade Virgin Coconut Oil (15 Fl Oz)
These are going in cute little gift boxes I found, along with hot chocolate bombs (I’ll regale you with that woeful tale in another post), but to be honest, I couldn’t be happier. Buying these things on their own were out of my budget because I really hate going into debt over Christmas, especially when you can make things like I can, so it was nice to find simple, make-at-home solutions.
I suppose I should get back to finishing the… *counts on fingers*… six projects I have left to literally wrap up before the holidays, half of which aren’t even started, and oh by the way, I’m moving out of and selling a house during a pandemic and before 1/1/21, so someone send me like three bottles of eggnog before I snap.


